
Why Seal Style Matters Before Print Starts
When a brand asks for pouches, sachets or wraps, the conversation should start with the seal, not only the artwork. The seal controls how the pack holds product, where it opens, how much pressure it can take in transit and whether the finished pack looks tidy after filling. On a busy line, a poor seal choice can cause split edges, trapped product at the seam or packs that do not sit properly in cartons.
In flexo printed flexible packaging, the print layout and the sealing method must work together. That means allowance for the seal area, any gusset, and the place where cutting will happen. If the edge is too busy with ink or the seal area is too narrow, the pack can be harder to make and harder to use.
Common Seal Styles Used On Flexible Packs
Different seal styles suit different products and filling methods. A sachet for seasoning is not built the same way as a stand-up pouch for dry goods or a wrap for a bakery item. The choice affects opening ease, shelf shape and how the pack behaves under stacking and transport.
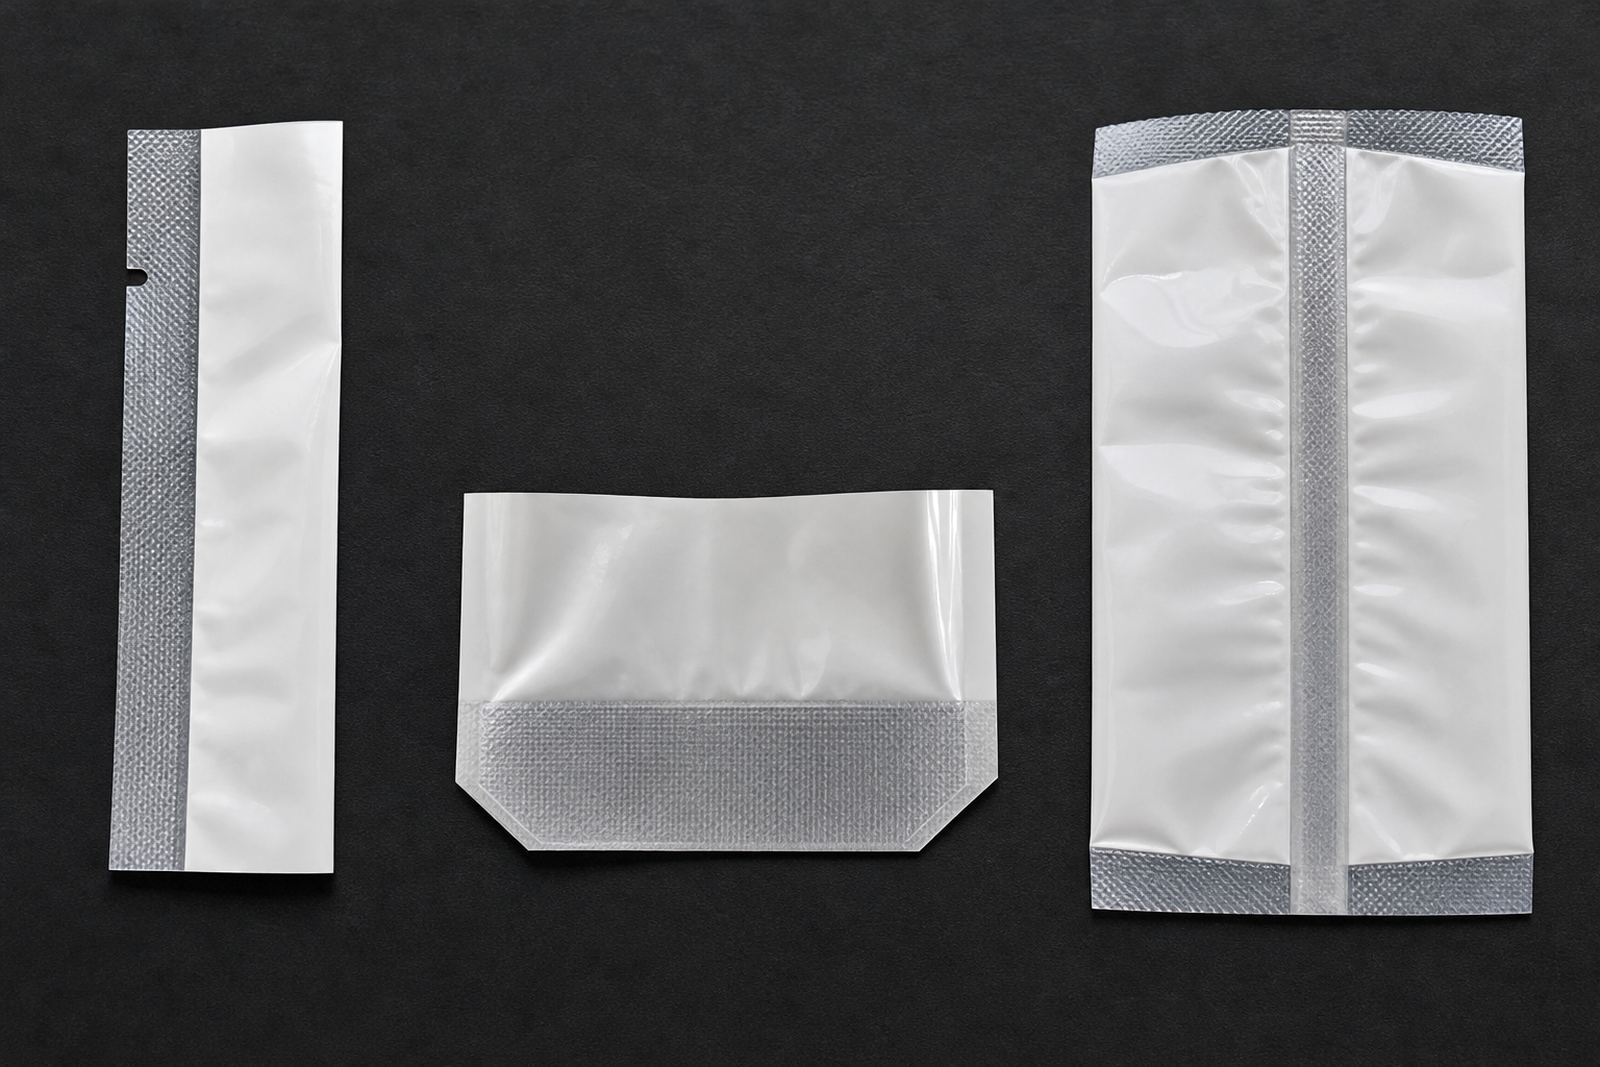
- Back seal: A neat vertical seal on the back panel, often used for sachets and narrow packs.
- Three-side seal: Sealed on three edges for a flat, compact pack that fills well and stores easily.
- Centre seal: Common where material use and speed matter, with product sealed along the middle back panel.
- Bottom gusset: Gives more base support for pouches that need to stand or lie neatly in crates.
- Lap seal: One film edge overlaps another for a clean join and efficient line performance.
Each format needs the right seal width and a suitable material selection, especially for products that travel long distances or are handled often in humid coastal conditions.
Edge Finishes That Change The Final Look
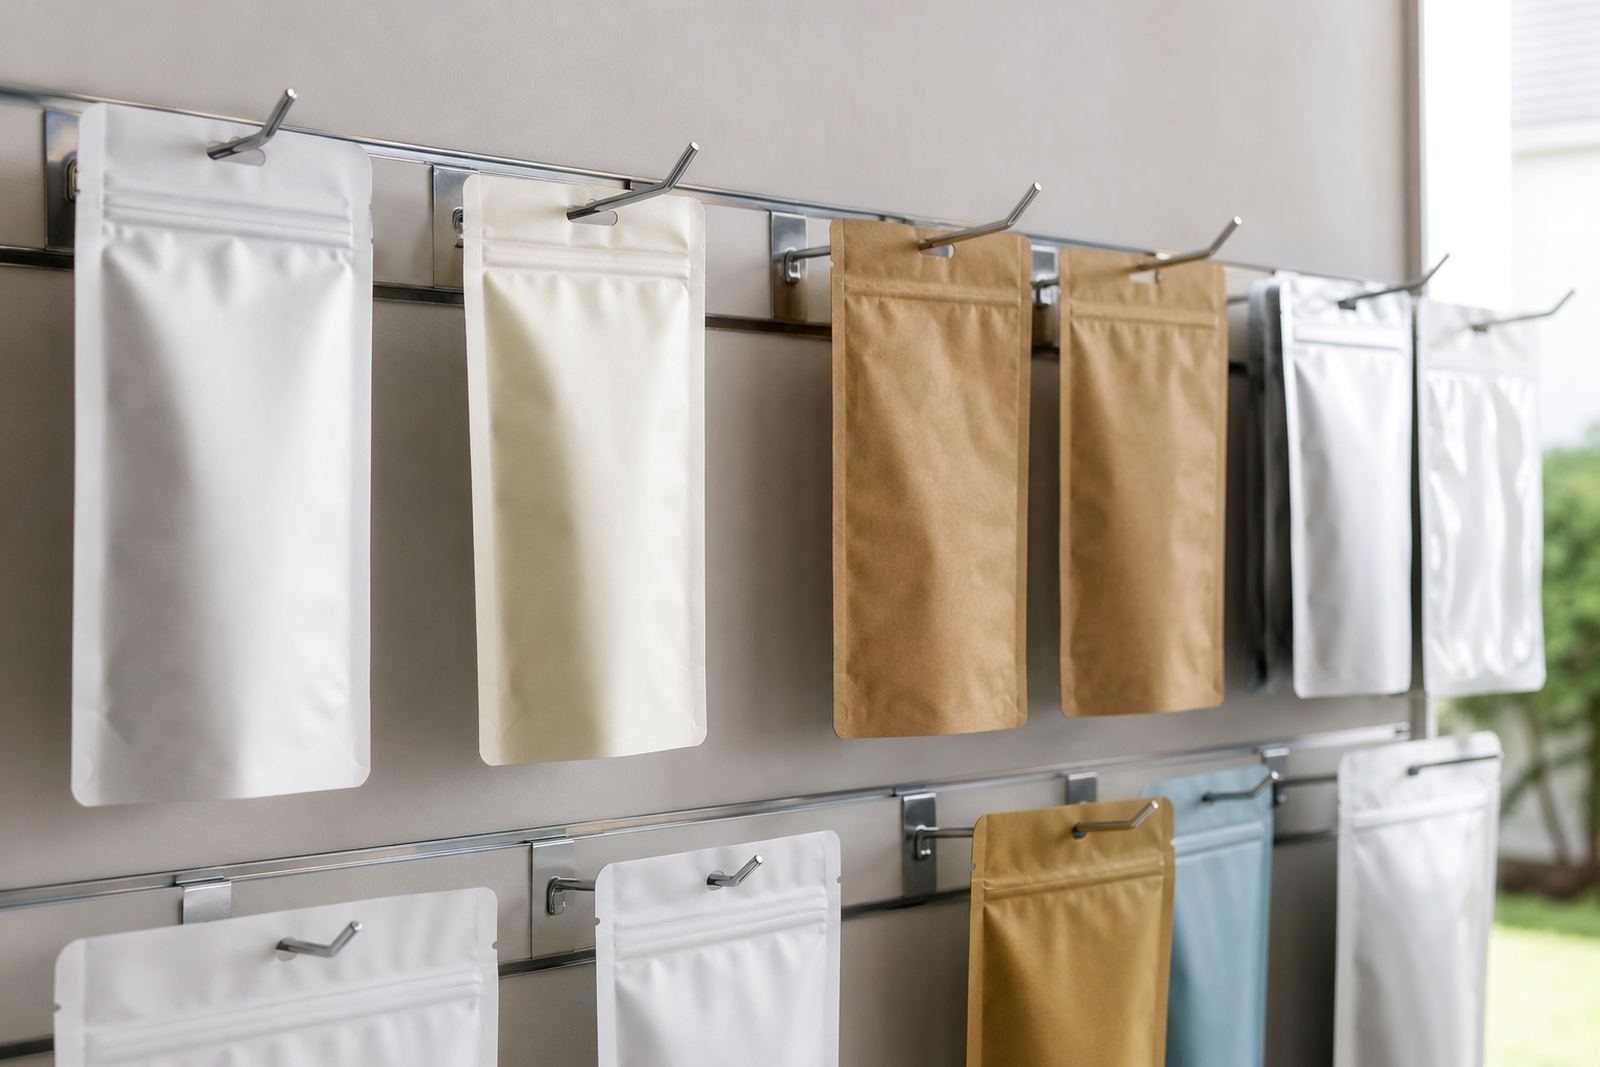
The edge is more than a cut line. It affects how the pack feels in the hand, how easy it is to tear open and how clean the shelf presentation looks. A straight cut can suit simple sachets. A shaped edge may work better where the pack must stand out in a retail box or hang neatly on display.
In many cases, the finish also needs to support the filling process. If the edge is too tight, or if the cut lands too close to a seal, the pack may pucker or crease. That is why artwork prep and print proofing need to factor in the final trim, not just the flat artwork size.
- Leave enough seal margin for heat and pressure during packing.
- Keep text and key graphics away from cut lines.
- Check tear notches and opening points before production.
- Match edge finish to the product weight and handling method.
What To Consider For Sachets Versus Pouches
Sachets are small and usually designed for one use or short use. They need compact seals, simple filling and an opening point that works quickly. Pouches carry more product and may need extra support at the base or sides. That means more attention to structure, film choice and how the seams behave once filled.
For sachets, the main concern is often clean separation and reliable closure. For pouches, the concern may be storage shape, reseal expectation or resistance to scuffing during delivery. A local food producer in Pinetown sending stock to Durban, Johannesburg and Cape Town may need one seal style for speed and another for shelf appeal. The wrong choice can lead to waste and extra handling, which adds cost.
How Colour, Ink And Seals Work Together
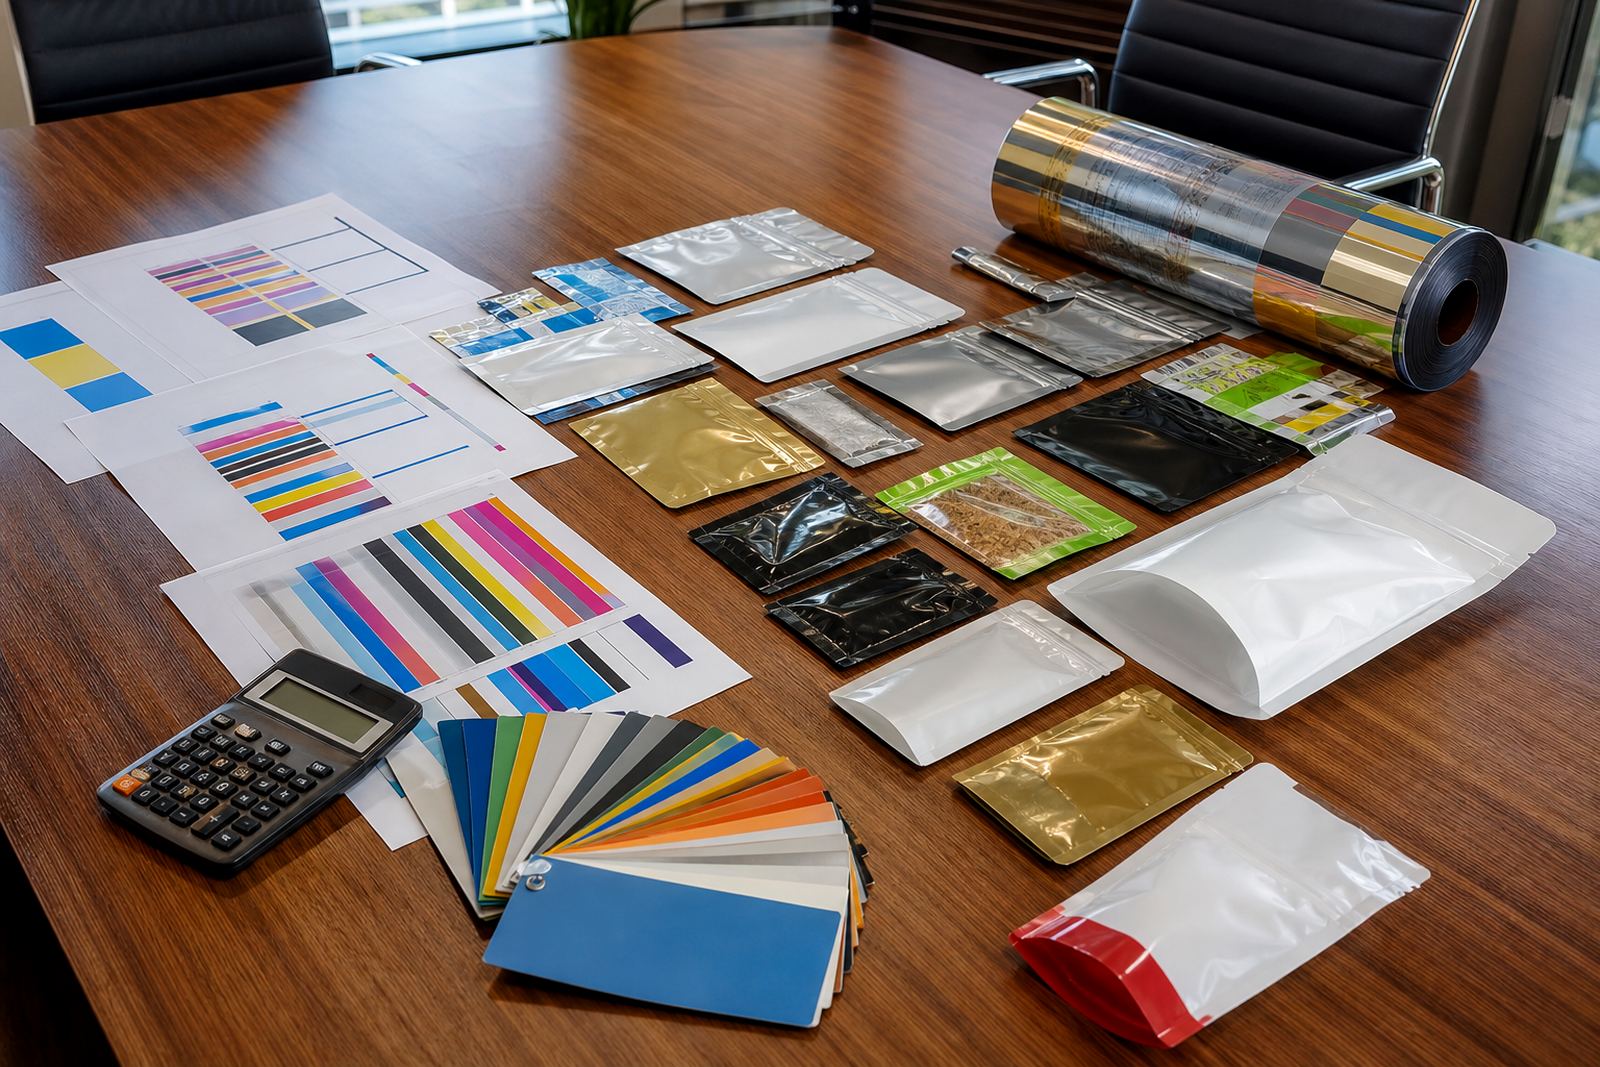
Seal areas can take more stress than the printed face, so the ink setup should respect that. Heavy coverage right at the seam can create issues if the material does not bond properly. Fine text near the edges may also blur or disappear once the pack is formed. This is where colour matching and proofing matter, because the final result must still look consistent after sealing and cutting.
For repeat production, it helps to keep a clear record of the approved seal layout and the exact material used. That makes later runs more reliable, especially when a customer needs the same pack for several months. It also helps when load-shedding or changes in dispatch timing affect the production schedule, because the team can return to the approved spec without guesswork.
A Practical Pinetown Example Of Better Pack Construction
A small brand in the Durban area may want sachets for a dry seasoning product and a larger pouch for the same range. The sachet needs quick sealing and neat tear points for busy retail counters. The pouch needs a stronger edge finish, good support in cartons and enough room for repeat handling during delivery across KwaZulu-Natal and inland routes.
In that kind of project, packaging consultation usually starts with the product weight, the filling method and where the packs will be sold. If the packs must travel to Pietermaritzburg or further to Pretoria, the edge and seal setup should be chosen for transport, not just appearance. That approach saves time later and avoids rework when a pack does not hold up in real use.
- Confirm the product type and pack size before artwork is finalised.
- Choose the seal style based on filling speed and storage needs.
- Allow for the trim, edge finish and any opening feature.
- Test the structure before a repeat production run.
Working With A Seal That Supports The Whole Job
Good flexible packaging is built from the inside out. The print has to look right, but the seal and edge work have to perform every day. When the pack is easy to fill, neat to store and reliable in transit, the brand benefits from fewer rejects and better presentation on the shelf.
For local brands, especially those dispatching from Pinetown to the rest of South Africa, the safest route is to treat seals as part of the packaging design from the start. That means checking the construction, the material and the print together, not one after the other. Small decisions at this stage can prevent bigger problems once production begins.